Well I have had my Pentax Digital Single Lens Reflex Camera (DSLR) for a few weeks now and finally have my work flow down pat... This is the process I take to get from subject to final image...
1. Photograph the subject in raw mode and usually take three photos of the same subject at different exposures so I can pick the best. One at normal exposure, one 1 stop underexposed and one 1 stop over exposed. This also allows me to create High Dynamic Range images If I want to however for HDR you need to use a tripod so the camera does not move.
When I take the photo I am only shooting at 6.1 Mega-pixels as that is all the K100D does. I take the data in RAW mode not Jpeg and that takes about 22 Megabytes per image so over 60 Meg for the three images. The 6.1 Mega-pixel image from the DSLR is far better in quality and colour reproduction then my AUD $60 14 Mega-pixel cheapish point and shoot. This is mainly due to the real lenses in front of the sensor rather then a small lens. That and the size of the CCD sensor.
2. Transfer the images to my computer still in RAW mode with photo management software called DigiKam for Linux.
3. Convert the RAW image to loss less PNG format with no other effects or editing, this means I can edit in PNG and not lose any of the image due to the compression used in Jpeg images. I the delete the RAW images to free up drive space. Each image is now around 8-10 Megabytes instead of 22.
4. Rename the images so I have sequential numbering of ALL my photos stored on the computer. I have a 320 Gigabyte external drive just for photos.
5. Create a thumbnail image of the photo say image 0000534.png to a file of 200 pixels wide with a filen ame of _thb_0000534.png. This is for my gallery of Unedited pics I have on my home server so I am not loading the full image from the server unless I need to.
6. Copy the original image and the thumbnail image to the file server inside the house, I now have 2 copies of the image one on my external hard drive and one on the server as well as the thumbnail.
7. Edit, crop, adjust colours etc and add my watermark in the Gimp for Linux and save to a directory called final edit and create another thumbnail of the final picture.
8. Upload the final thumb and photo to the home server in full resolution still around 8 megabytes.
9. Upload the image to my Flickr account at 1024x768 and post it to my blog or facebook.
All of the renaming, RAW to PNG conversion and thumbnail creation is done in batch processing within DigiKam and is fully automatic once it is running so that is pretty easy.
I also do not delete any images as you never know what you will need. I am also working on a long term photography project the requires 1000's of images of flowers but that will take a while although I took nearly 100 photos on this afternoons walk and about 80 of the would have been of flowers so I am getting there...
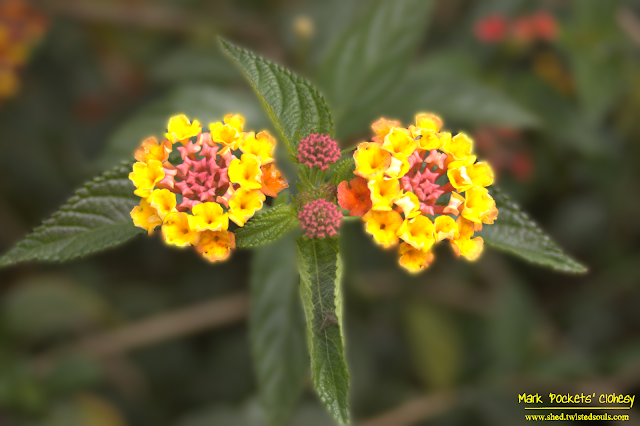
Here is a final image I did for Jo-anne (Blossy)


